Easy Way to Add More Polygons in Blender
This Blender Sculpting Tutorial explains you everything about sculpting and how to create a fantasy being. Everything is explained step by steps in detail. Digital Sculpting or 3D Sculpting is a way of modeling that mimics real-life sculpting with clay. Meaning that it is a really smooth way of modeling, as if the object you modeling is made out of clay.
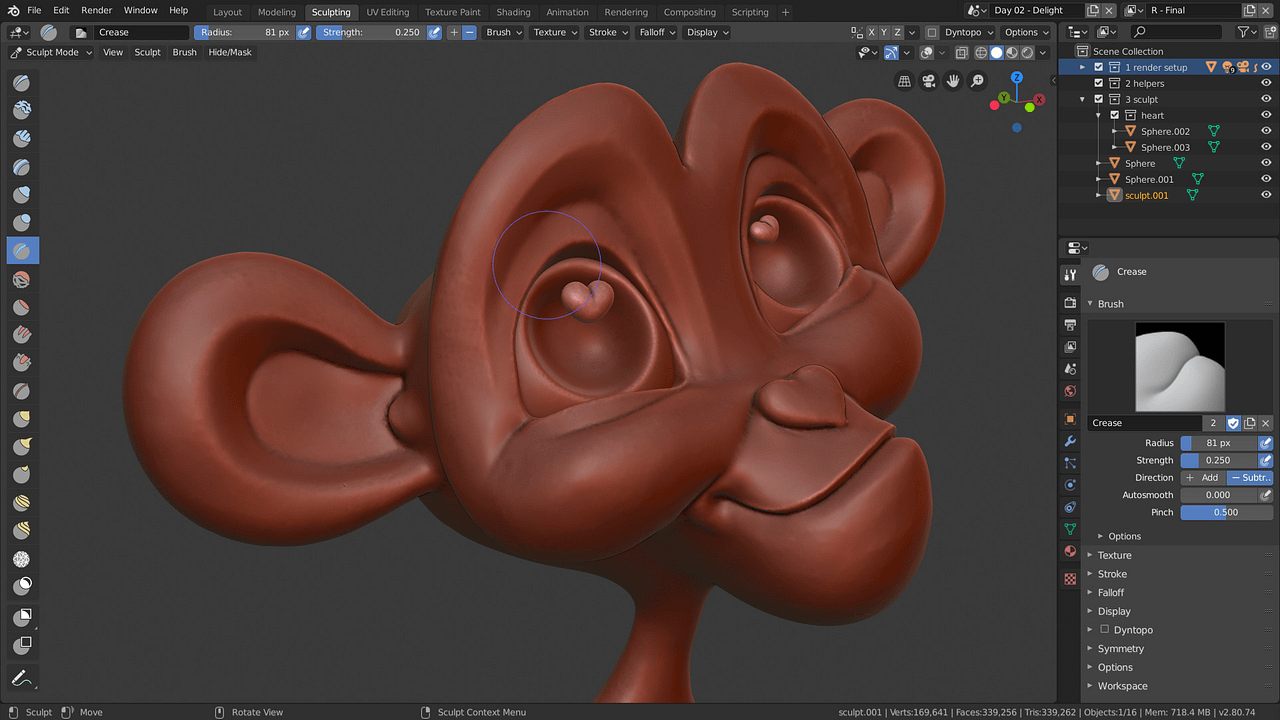
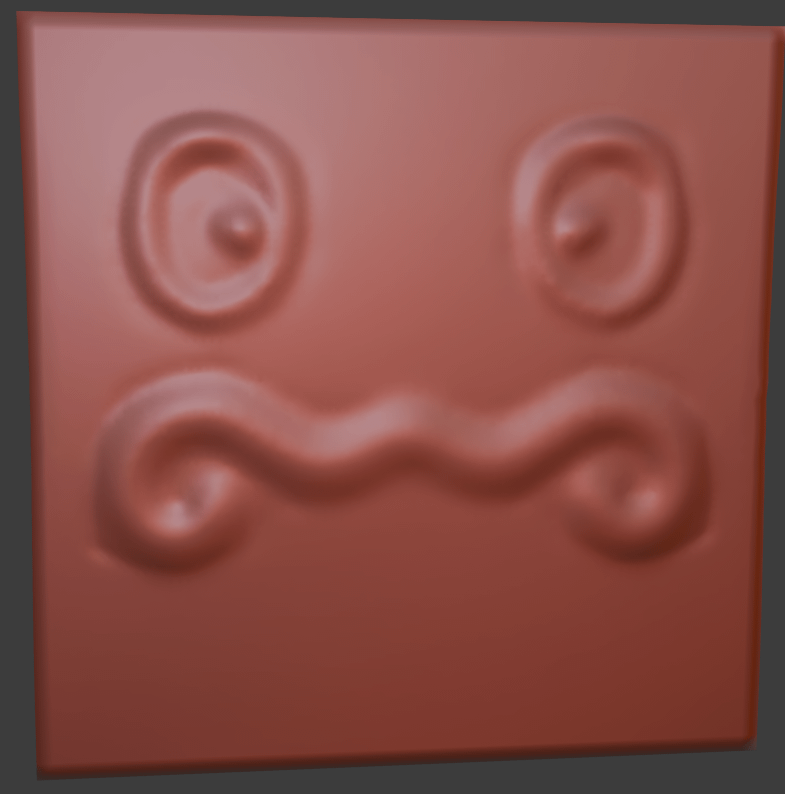
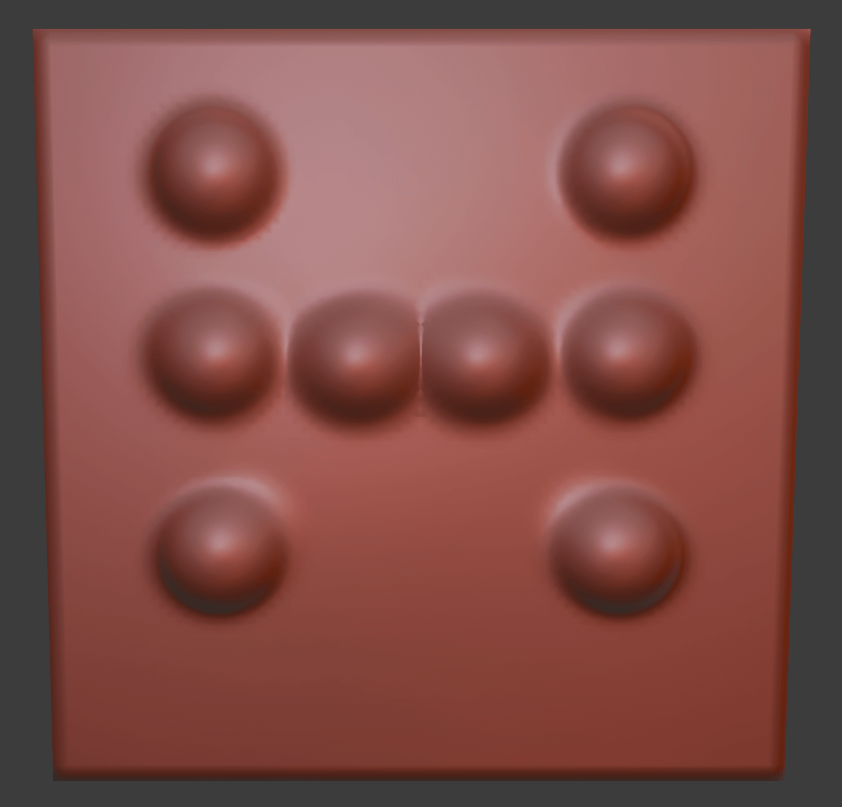
Model sculpted using Blender – Source Blender Manual
Usually Blender Sculpting is used for organic modeling. Creating models that would be hard to create using the standard modeling ways. Usually these models are of living things such as animals, thus it is called organic. But to achieve the hyperrealistic results sculpting can be used on any kind of model, because it allows for easy adding of details.
Blender Sculpting Interface
When you open Blender, it is possible to choose the interface preset depending on your goal.
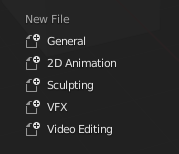
You can notice that there is a "Sculpting" preset available here which is great for Blender Sculpting. It automatically opens you in the Sculpt Mode of the 3D viewport with the high-poly sphere already available for you to sculpt on.
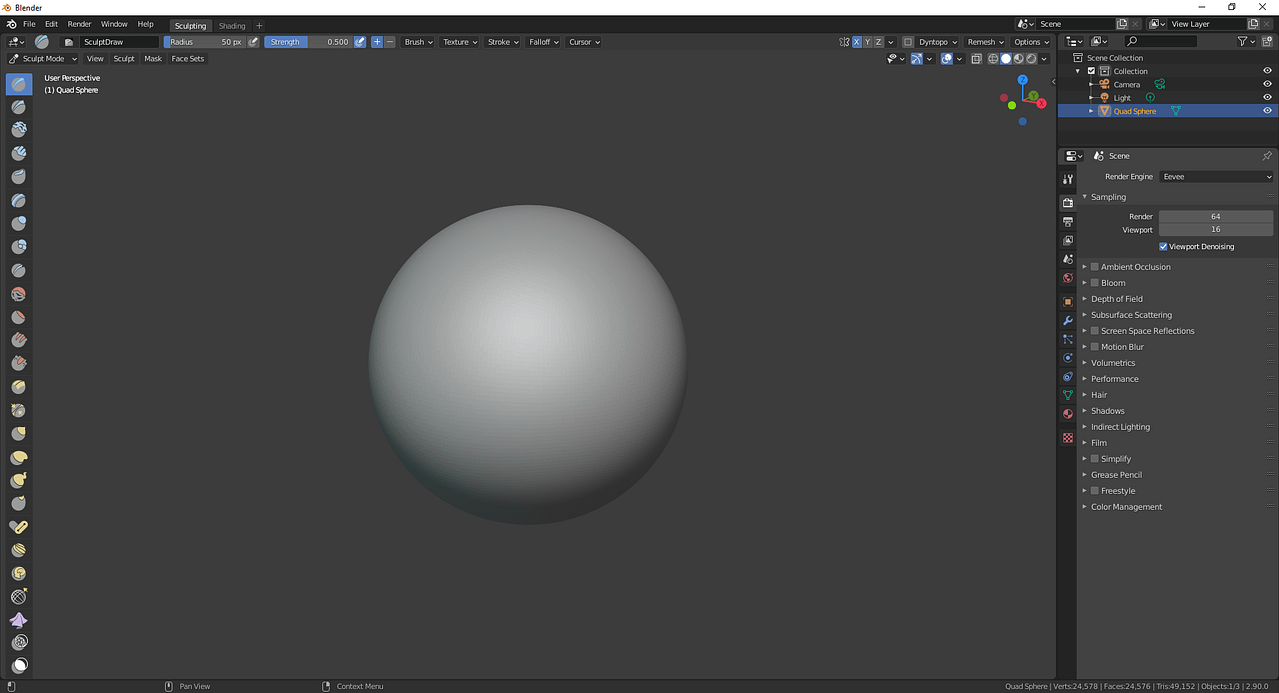
But it is more understandable to use the "General" preset. Besides it has the Sculpting workspace available anyway. This workspace looks identical to the one from the previous example. Only you are not given the sphere and have a default cube instead.

When in this workspace, the Parameters menu is automatically opened at the Active Tool and Workspace settings. There you can find all the settings for your brush, such as its radius, strength, whether you want to use Strength Pressure on your tablet and so on. Additionally there are settings for the geometry of your object, such as Symmetry and Remesh that will be explained separately.

Almost all settings that I mentioned above can also be found at the top of your 3D viewport. This is done, so you can use the Properties Editor for something else if you want and access all settings directly in the viewport.

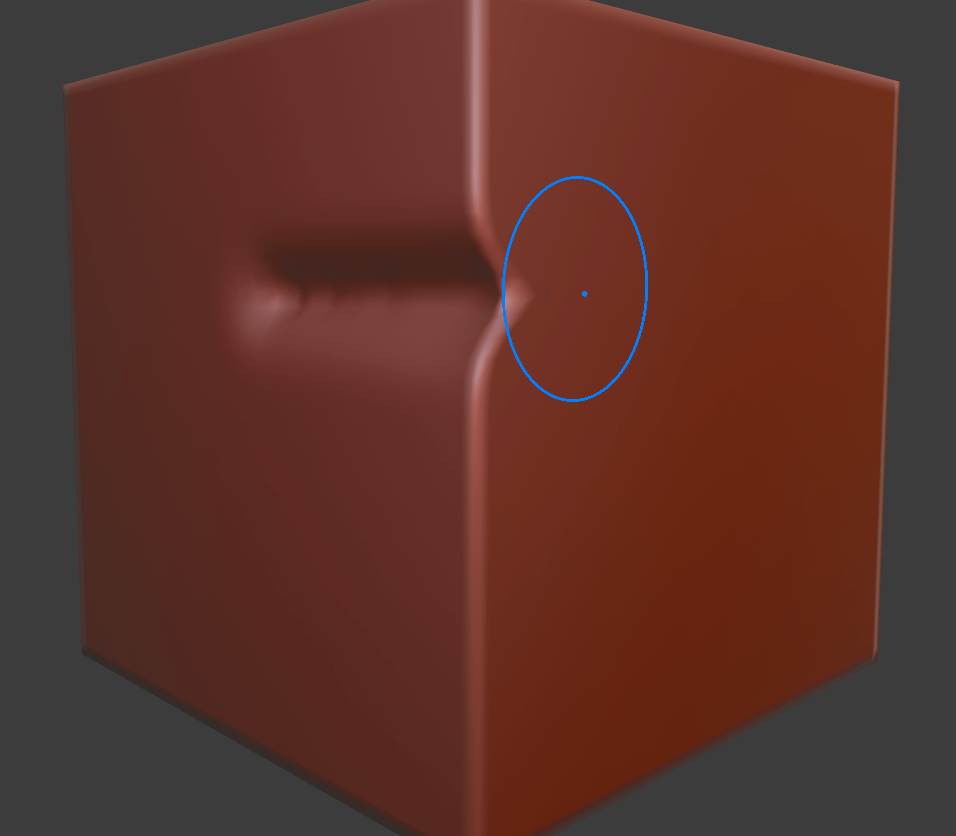
When you hover over the object – you will notice that your cursor is changed. It looks like two circles. The bigger circle is representing the radius of your brush, the smaller circle is the strength of your brush. And the small blue dots are the vertex that you affect the most.
At the left side of the screen you can find all the sculpting tools available for you. We are going to go into them in detail further.

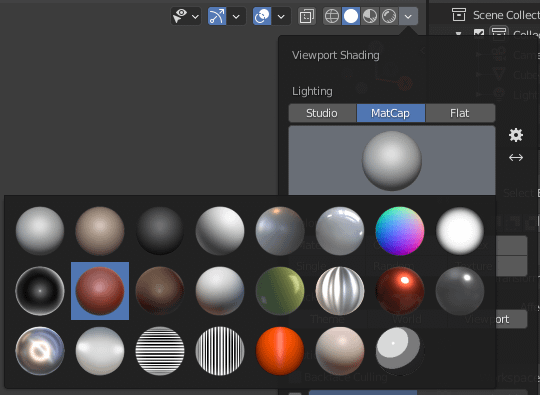
Before proceeding to the next section I also want to change the Shading a bit, because I don't like the default shading while sculpting. At the top right of the viewport you can open the shading menu and change the MatCap to something else. I like the "Brown clay" MatCap for sculpting, so I will use it.
Blender Sculpting Tools(Brushes)
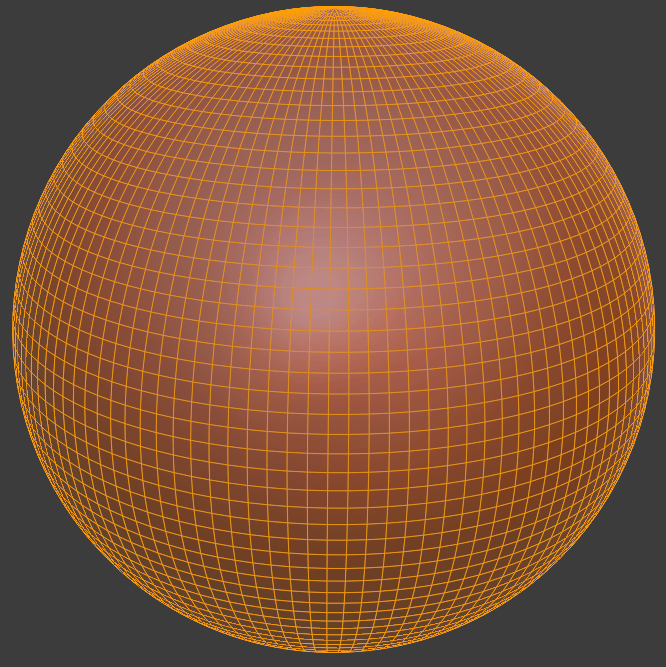
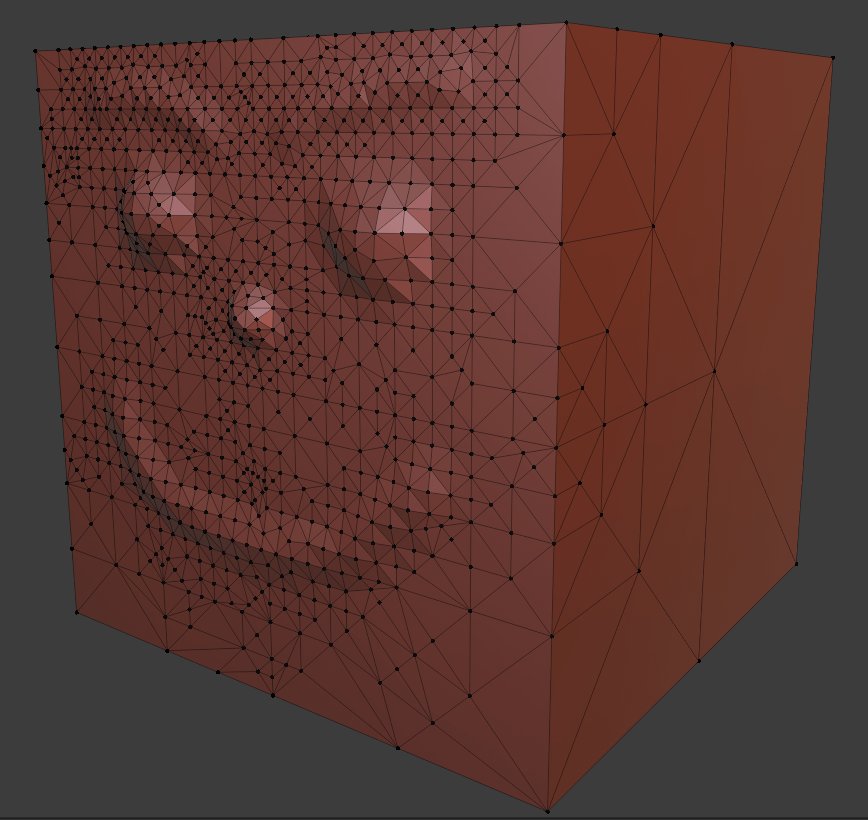
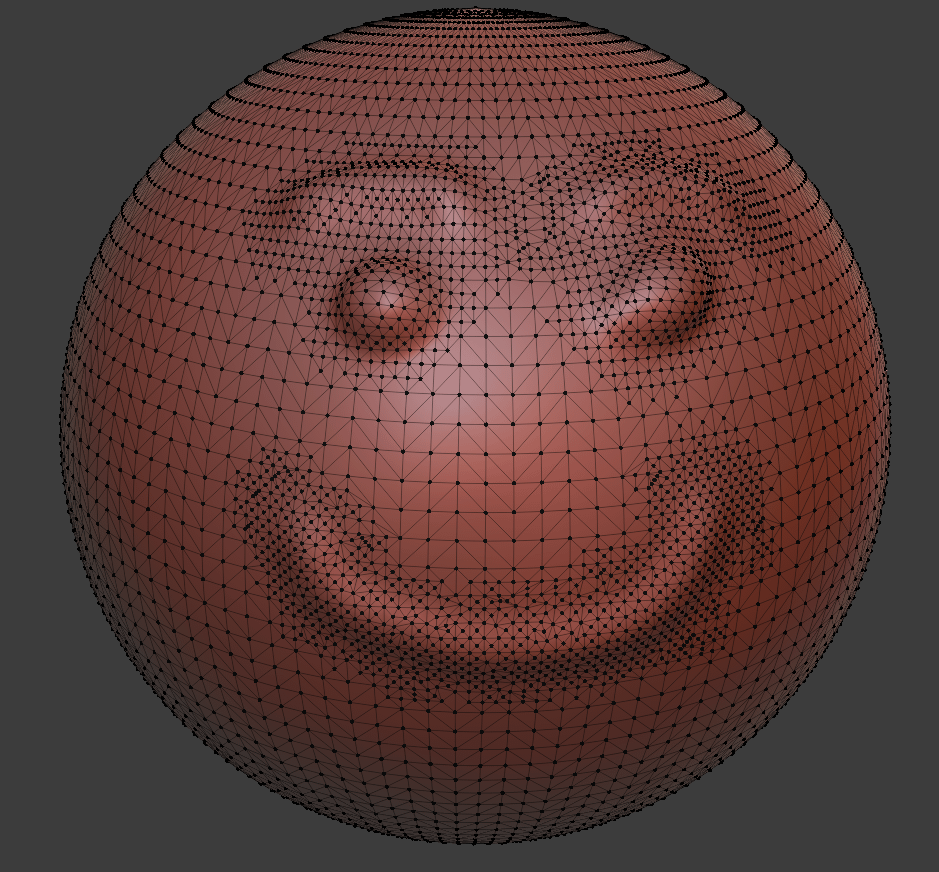
In this section we will go into each and one of the tools that is available in the Blender 2.9 at the moment of creating this article. But before proceeding we also need a proper object to test them on. The default cube is not good enough, because it is too low-poly and sculpting needs a lot more polygons to work.
That is why I have added[Ctrl+A] a UV Sphere and added a two level subdivision. The amount of geometry can be seen in the edit mode or Wireframe shading.
Tools controls: Left Click to use the brush. Usually this pushes vertices outwards. [Ctrl+Left Click] to invert the basic use of a brush. Meaning that if regular left click pushed outwards, [Ctrl+LMB] will push inwards. Also you can use the [Shit] button, this will change your brush to the really convenient Smooth brush.
Now we can begin looking into each tool. This will be done briefly, because there are too many tools to give a speech about each one.
- First is the Draw brush. The most basic brush that simply pushes inwards or outwards faces where you point your cursor.

- Draw Sharp – very similar to the last one, but uses a much sharper Falloff. Can be used for creating small details such as wrinkles.
- Clay – again, similar to the Draw, but the brush is flatter.
- Clay Strips – same as the last one, but the brush is a square instead of a circle.
- Clay Thumb – simulates pushing in the clay with a finger. Even accumulates geometry at the end of a stroke.
- Layer – can be hard to understand at first. It tries to push the geometry but at the same time leave all the details as they are.

- Inflate – pushes each vertex in the direction of its normal, which creates an effect of inflation.
- Blob – seems similar to the Inflate, but in reality more similar to the Draw brush, but changes geometry in a spherical shape.
- Crease – a sharp brush for creating small details, such as indents and ridges.
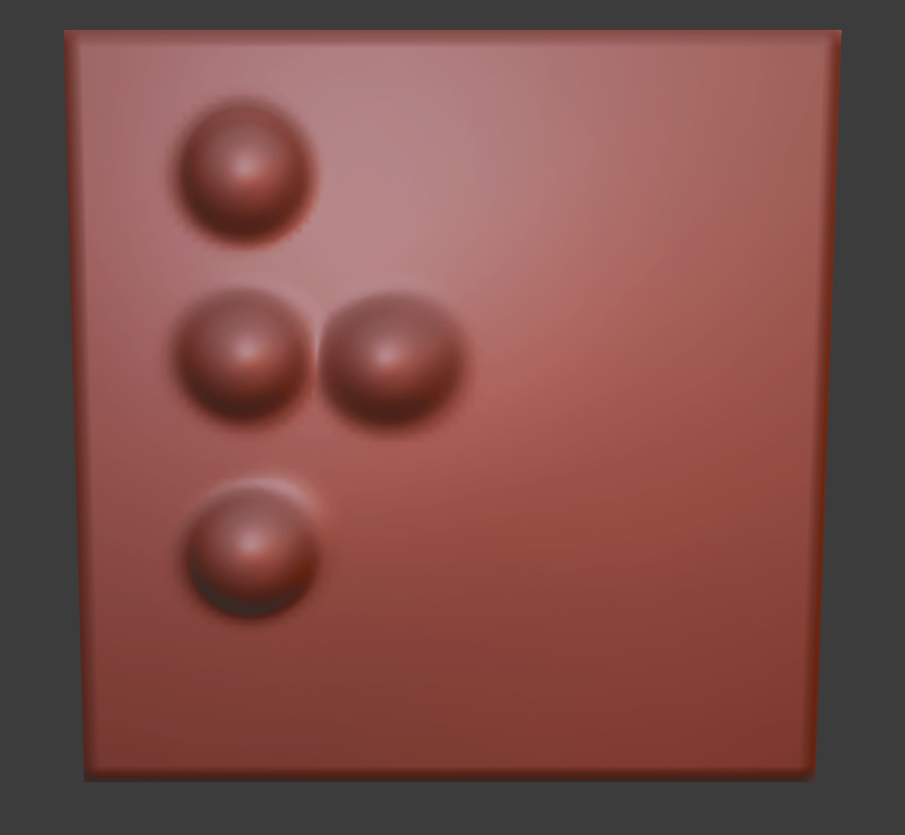
Inflate and Blob brushes with Crease applied to the edges
- Smooth – one of the most important brushes, because smoothes out the geometry and is used all the time while sculpting. It can be accessed any time if you hold down [Shift]

Smoothed geometry
- Flatten – does exactly what is said in the name. Flattens the area by pushing vertices to be on the same height.
- Fill – fills the space in the gaps created by other brushes.
- Scrape – very similar to the Flatten, but a bit different. Mostly because it feels like you really scraped a piece of your object.
- Multi-plane Scrape – scrapes the mesh from the two points simultaneously which creates sharp edges.
- Pinch – pulls the geometry from the two directions to create sharp edges. Like if you pinched it with your fingers.
- Grab – simply does the same thing as if you selected the vertex and used the proportional editing to move it around.
- Elastic Deform – same thing as the Grab brush, but the object behaves like it is elastic.
- Snake Hook – pulls the vertices following the move of the cursor, like it was pulled using a hook.
- Thumb – small movement of the geometry, as if you were pushing on it with your thumb
- Pose – used to pose a model as if there was a bone(armature).
- Nudge – similar to the Thumb. Small movement of the vertices in a direction you move your cursor.
- Rotate – rotates the vertices in the direction your mouse is moving
- Slide Relax – advanced brush. Slides the topology with the minimal effect on the mesh.
- Cloth – one of the new additions to the Blender. Awesome tool that allows to simulate cloth geometry without physically simulating cloth. Easily add details such as wrinkles.
- Simplify – only works with the Dyntopo enabled. Changes the level of detail(resolution) of the model.
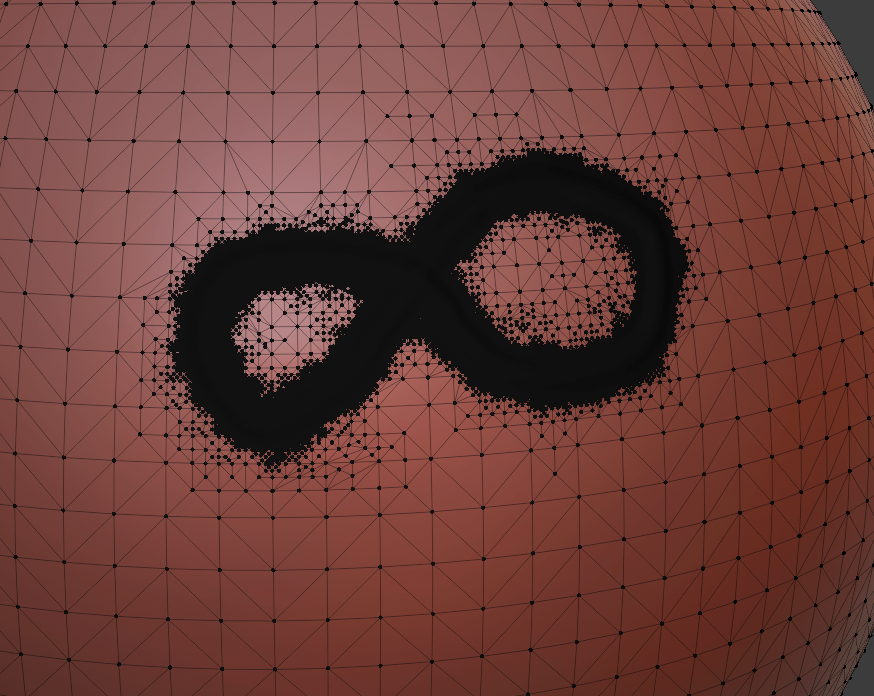
- Mask – masks the part of your object, that you can see by the black highlight. The masked parts of your object are not affected by the brushes.
- Draw Face Sets – adds a new face set each time you press LMB.
- Box Mask – Same as regular Mask, but instead of the circle brush, you now can select faces via box select.
- Box Hide – same as the Box Mask, but it does not mask selected faces, but hides them.
- Mesh Filter – deforms the whole mesh at the same time in the same way. For example Smooth brush can be applied here.
- Cloth Filter – similar to the Cloth brush. But again, applies to the whole mesh instead of the selected part.
Blender Sculpting Features
There are some additional features that are available in the Sculpting part of Blender. They include Symmetry, Remesh and most importantly – Dyntopo. About the latter we will speak more in detail in the next section.
Starting with Symmetry – it is understandable what it does. Helps you make the object as symmetrised as it can be and as you want it to be. To do that there is a "Symmetry" section in the Active Tools Properties.
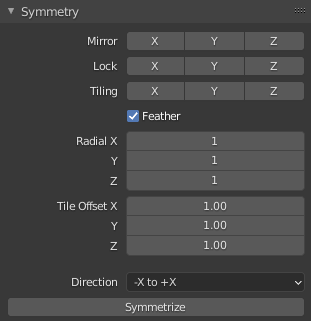
One of the most convenient things here is the "Mirror" setting. It mirrors all your actions to the other axis of the object. For example if you do something on the +X it will be mirrored to the -X if Mirroring on the X plane is active.
Turning it on on all 3 planes will make your sculpting copy 7 times. The Lock setting can restrict the changes on the whole plane. For example if you lock the X, you could still make changes in the Y and Z axis, but any changes to the X will be restricted and you simply would be stopped:
And the last Tiling options from the first look can be the same thing as Mirror. But in reality it is not mirroring your sculpting, but tiling. Which means that it follows the same direction that you sculpt.
Then you can change some offset and radial settings. And the last option here is the Symmetrize button. It is for the situations when you forgot to turn on Symmetry but still want to add it without redoing the whole thing.
All you need to do is choose the direction from where to where you would like to symmetrize your sculpt and press the button.
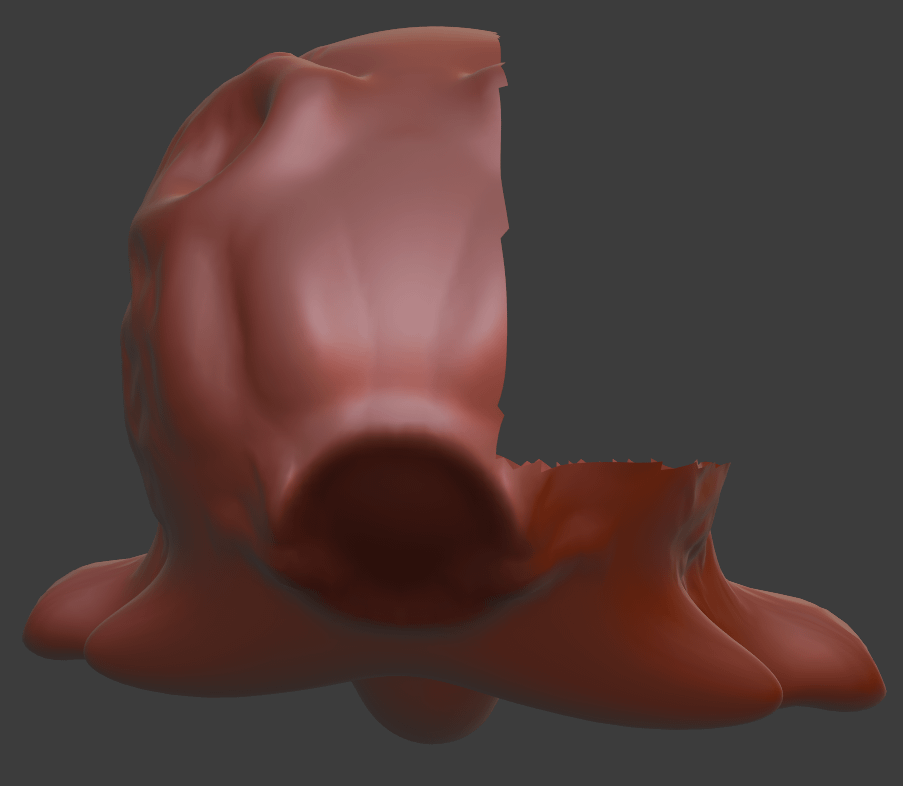
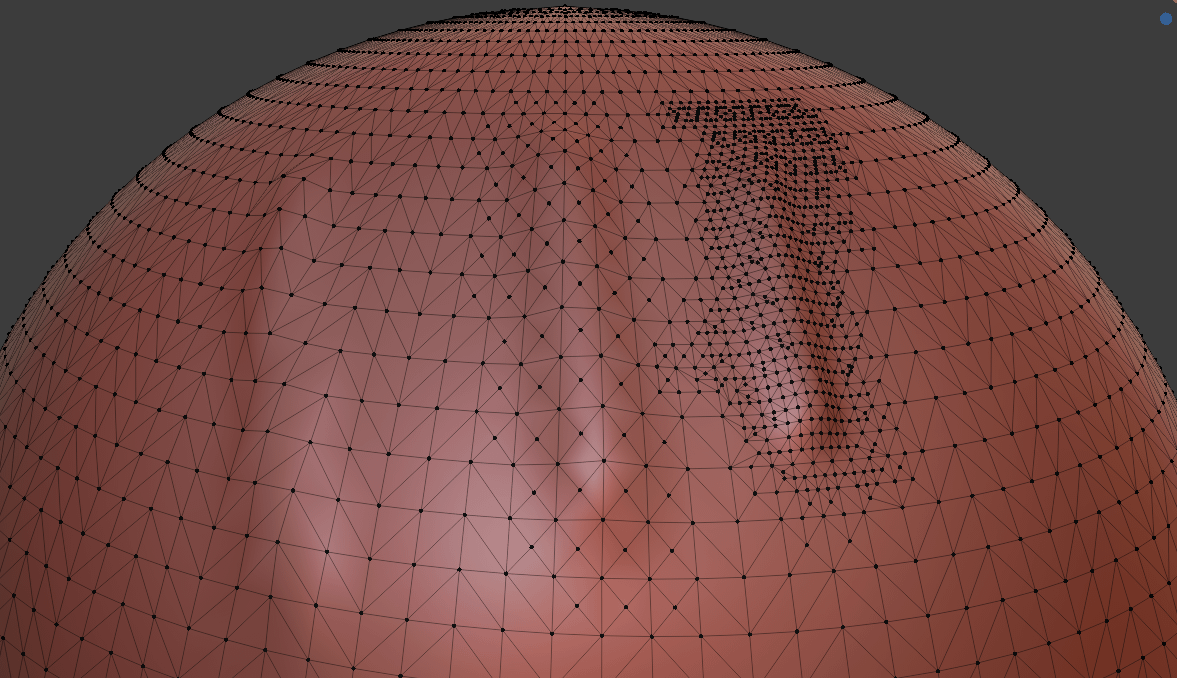
And the other feature is Remesh. It is really convenient in the situations when after some work you understand that the level of detail is different in some parts of your geometry. This can be seen in the Edit Mode.
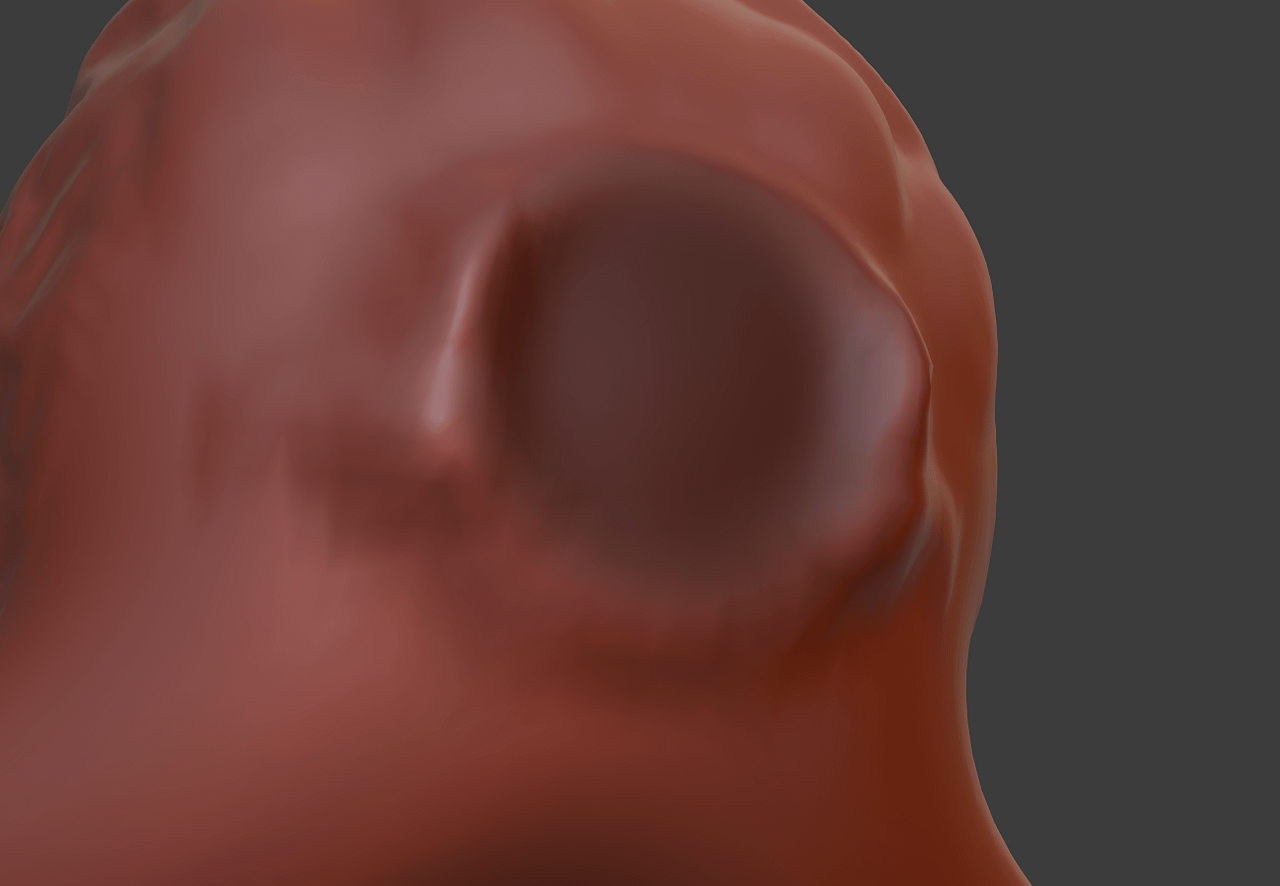
Here is a simple example. I have used the Inflate brush a couple of times, which pushed out the vertices quite a bit. This pushed out geometry to be a lot less detailed, which stands out a lot.

I can fix this by using Remesh. In the interface you can find it and see that there are some options available for it.
If I just click Remesh – the result is not that good. Default settings do not suit my mesh and it ended up making everything less detailed.
To fix this, I simply need to change the Voxel Size setting. You can either set it yourself or use the eyedropper icon to copy the value of your mesh. After that Remesh should work just fine.
Blender Dyntopo
The last interesting and important feature is the Dyntopo. Dyntopo is short for dynamic topology. It is the feature that allows you to change the level of topology and add new geometry on the fly.
In the previous segments we needed to increase the detail level before sculpting. And after using the different brushes on a mesh – the topology becomes less detailed and we may be forced to use the Remesh to fix it. With the Dyntopo all these problems are gone.
If you want to turn it on – you will be warned that your vertex data may be lost in the process. Accept and proceed further. Now if you try to sculpt even on the default Cube – you will be able to. Blender will create all the needed topology right on the fly.
Though it is of course still better to work with the higher polygon count, so it would need less vertices to add and it would be a lot less messy.
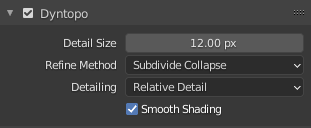
By default the Dyntopo is set to the Relative Detail. This means that the amount of detail added is relative to your view. The closer you to the object – the more detailed your sculpting is.
You can also control the amount of detail added by changing the Detail Size setting in the Dyntopo options. The lower is the number – the more details you will add with the Dyntopo active. Be careful with this, because the huge amounts of vertices are not good and will slow down your rendering and other processes by quite a bit.
The Relative Detail can be really confusing for the beginners. But worry not, as there is an easier to understand option – Constant Detail.
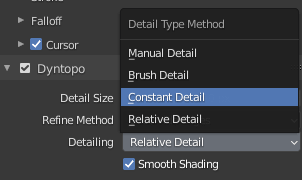
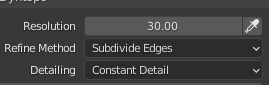
When this option is enabled, there is no more relation between how far from the object you are and how much detail Dyntopo adds. This means that no matter what – the detail level is alway set at the one point. And the Resolution option is what controls this level.
There is a small confusing part here. When we were in the Relative Detail the lower Detail Size option was – the more details we added. In Constant Detail it is vice-versa. Meaning that the higher you set the Resolution – the more details you will add. There is also an eyedropper icon available if you want to match the resolution of the specific area.
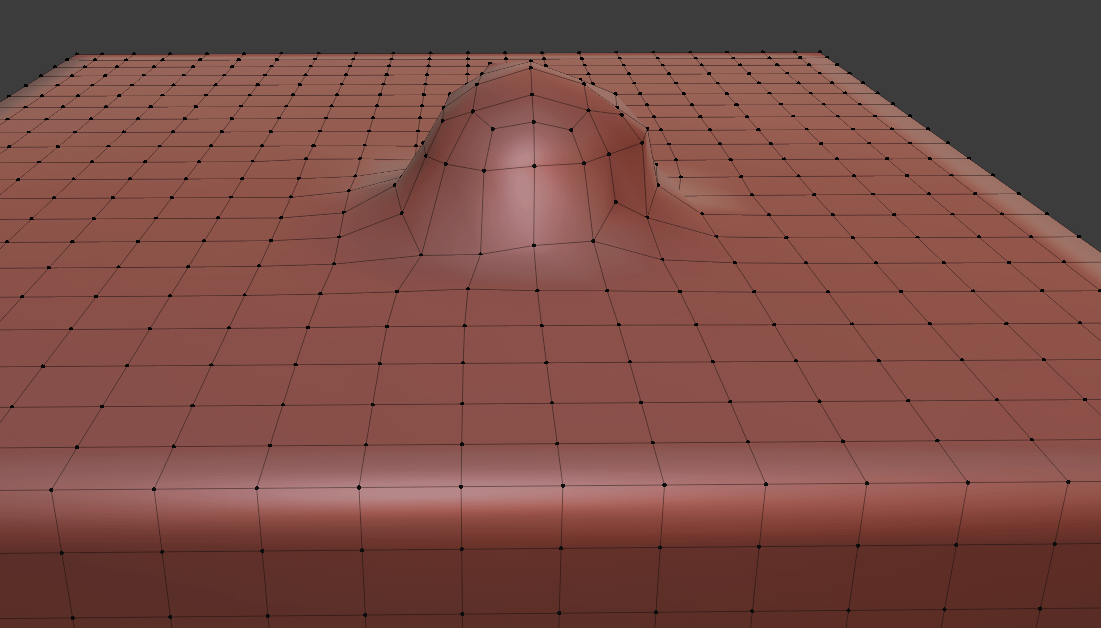
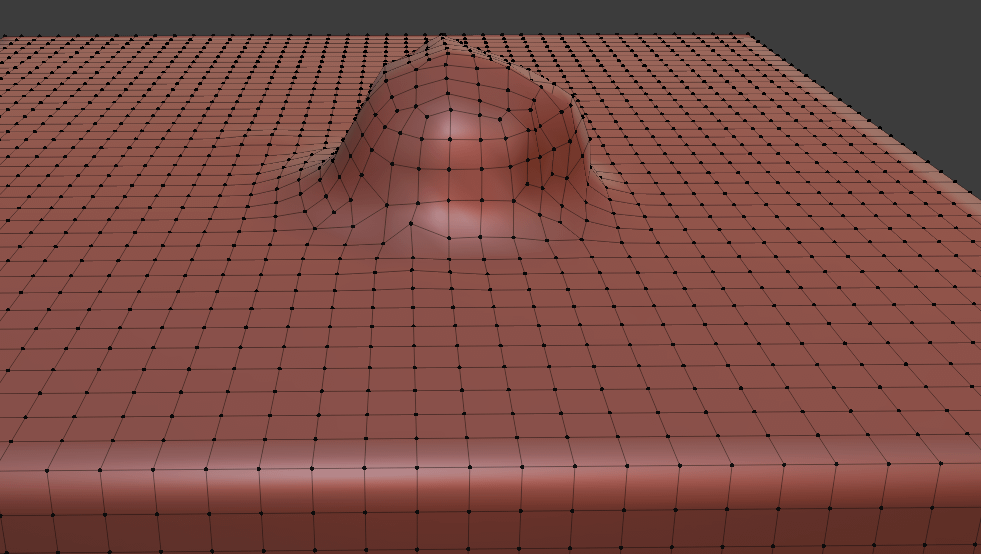
But I guess we missed the point. Why exactly is Dyntopo such a big deal and how it is better than regular sculpting? The fact that you don't need to worry about how high poly your original model is and that it is simply easier – is understandable.
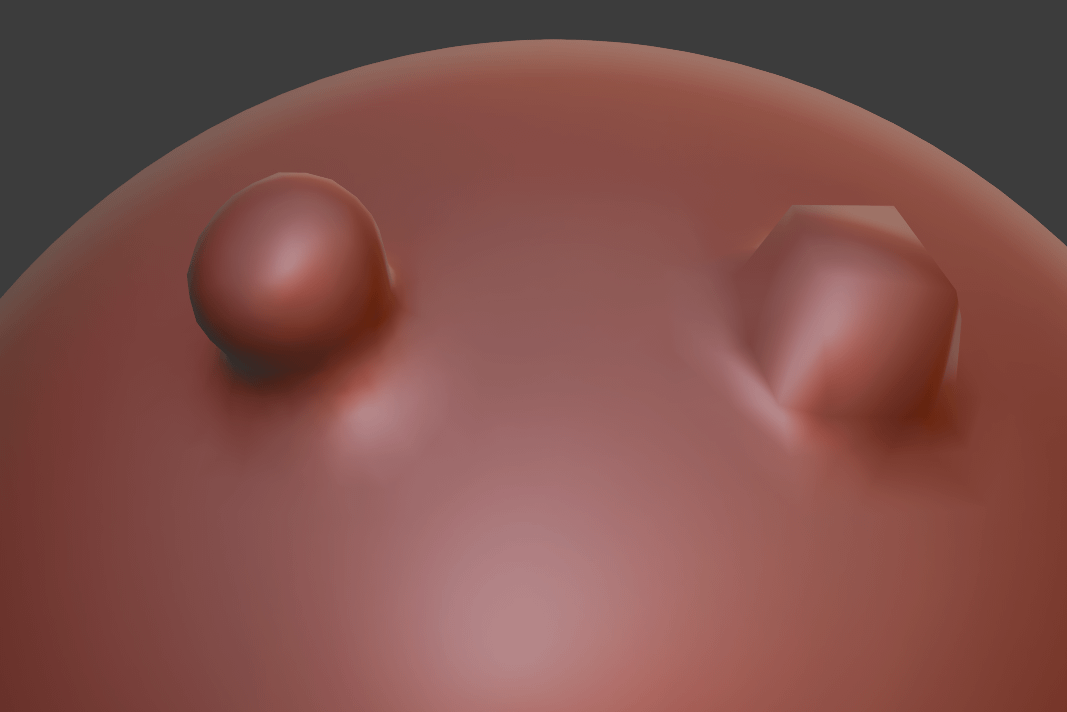
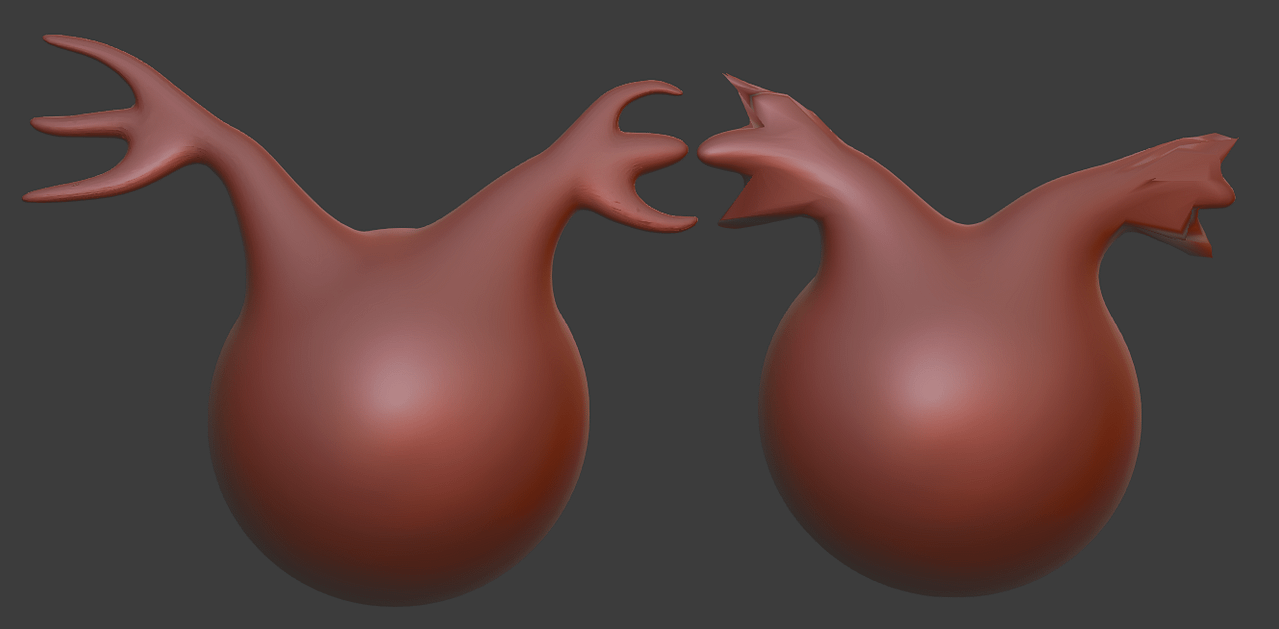
But the other major thing is that basically every brush works better with Dyntopo. It is much easier to produce exactly the thing that you want and it requires less work from you. Easy example – I have created a blob with(left) and without(right) the Dyntopo. You can easily see that the one on the left is a lot better and on the right is worse, because there are not enough polygons to create a proper blob.
Yes, you can fix the problem on the right one. You can use the Remesh to add more polygons, create a more high-poly sphere from the beginning and so on. But there is no trouble-shooting needed if you use Dyntopo – it is just better. Though, adding a lot of polygons can cause slowing down of Blender, as was already mentioned.
Another important detail is that tools can simply work better with Dyntopo, because they are not limited to the available vertices that they can use and instead they create their own topology. This especially can be noticed when working with the Snake Hood brush.
There is simply not enough topology to create the same shape that I could easily create with the Dyntopo active.
Right now I would recommend you to activate the Dyntopo, Constant detail and try messing around in the Blender. Use all of the different tools and try to create something that you like. It is important to try using the knowledge in practicing.
Conclusion
It can be seen that sculpting is a really important part of the Blender and 3D modeling overall. There are things that are easier and better done using sculpting instead of the usual modeling and there are even some things that can be done only using sculpting. Overall, it is an important skill that you need to master if you want to be a proper 3D modeller. We hope you enjoyed this Blender Sculpting tutorials. Also have a look at our other Blender Tutorials and 3D Model Reviews.
Source: https://renderguide.com/blender-sculpting-tutorial/
0 Response to "Easy Way to Add More Polygons in Blender"
Post a Comment